Tuesday 27 July 2010

Peanut Butter Whoopie Pies

I did it! I finally made my own whoopie pies!
I decided on the peanut butter whoopie pie recipe from the book 'Whoopie Pies' by Sarah Billingsley and Amy Treadwell.
Ingredients:-
1 3/4 cups plain flour
1 teaspoon bicarbonate of soda
1 teaspoon baking powder
1/2 teaspoon salt
4 tablespoons unsalted butter (at room temp)
4 tablespoons vegetable shortening (I used Stork margarine)
1/2 cup packed brown sugar
1/2 cup creamy or crunchy peanut butter
1 teaspoon vanilla extract
2 large eggs
1 1/2 cups buttermilk
(Method - see below)
I decided on two types of filling. I had found these two jars of Marshmallow Fluff in a local grocery shop so decided to try the classic Marshmallow filling.
Ingredients:-
1 1/2 cups of Fluff (or other prepared Marshmallow cream)
1 1/4 cups of vegetable shortening
1 cup icing sugar
1 tablespoon vanilla extract
Method:-
1. Using an electric mixer beat together the Marshmallow Fluff and vegetable shortening until the mixture is smooth and fluffy.
2. Reduce mixer speed to low and add the icing sugar and vanilla and beat until well combined.
3. Increase mixer speed to medium and beat until fluffy.
(WARNING: this filling is incredibly sweet and should probably be avoided if you are making these for someone who is diabetic or worried about tooth decay. But for the rest of us, it's delish!)
The second filling I made as you can probably guess from the picture above was a peanut butter one. I again decided to try the recipe from the book rather than my own recipe and I was slightly disappointed.
Ingredients:-
3/4 cups of peanut butter (creamy or crunchy)
3/4 cups of unsalted butter (at room temp)
3/4 cups icing sugar
1/2 teaspoon salt
Method:-
1. Using an electric mixer beat together the peanut butter and butter on low speed until creamy
2. Add the icing sugar and salt until well mix and then increase speed until mixture is light and fluffy.
NOTE: I omitted the salt as I wanted a sweet frosting but even without the salt, the frosting was not as sweet as I would have liked.
Method for making Whoopie Pies:-
1. Pre-heat oven to 375 degrees fahrenheit / Gas Mark 5. Line two baking sheets with parchment paper.
2. Sift together the flour, bicarbonate of soda, baking powder and salt and leave to one side.
3. Using an electric mixer beat together the butter, shortening, brown sugar, peanut butter and vanilla until light and creamy. Add the eggs one at a time making sure to stop the mixer and scrape down the sides.
4. Add half of the flour mixture beating on a medium speed until just combined. Then add half of the buttermilk. Beat on medium speed until combined. Repeat with the remaining flour and buttermilk.
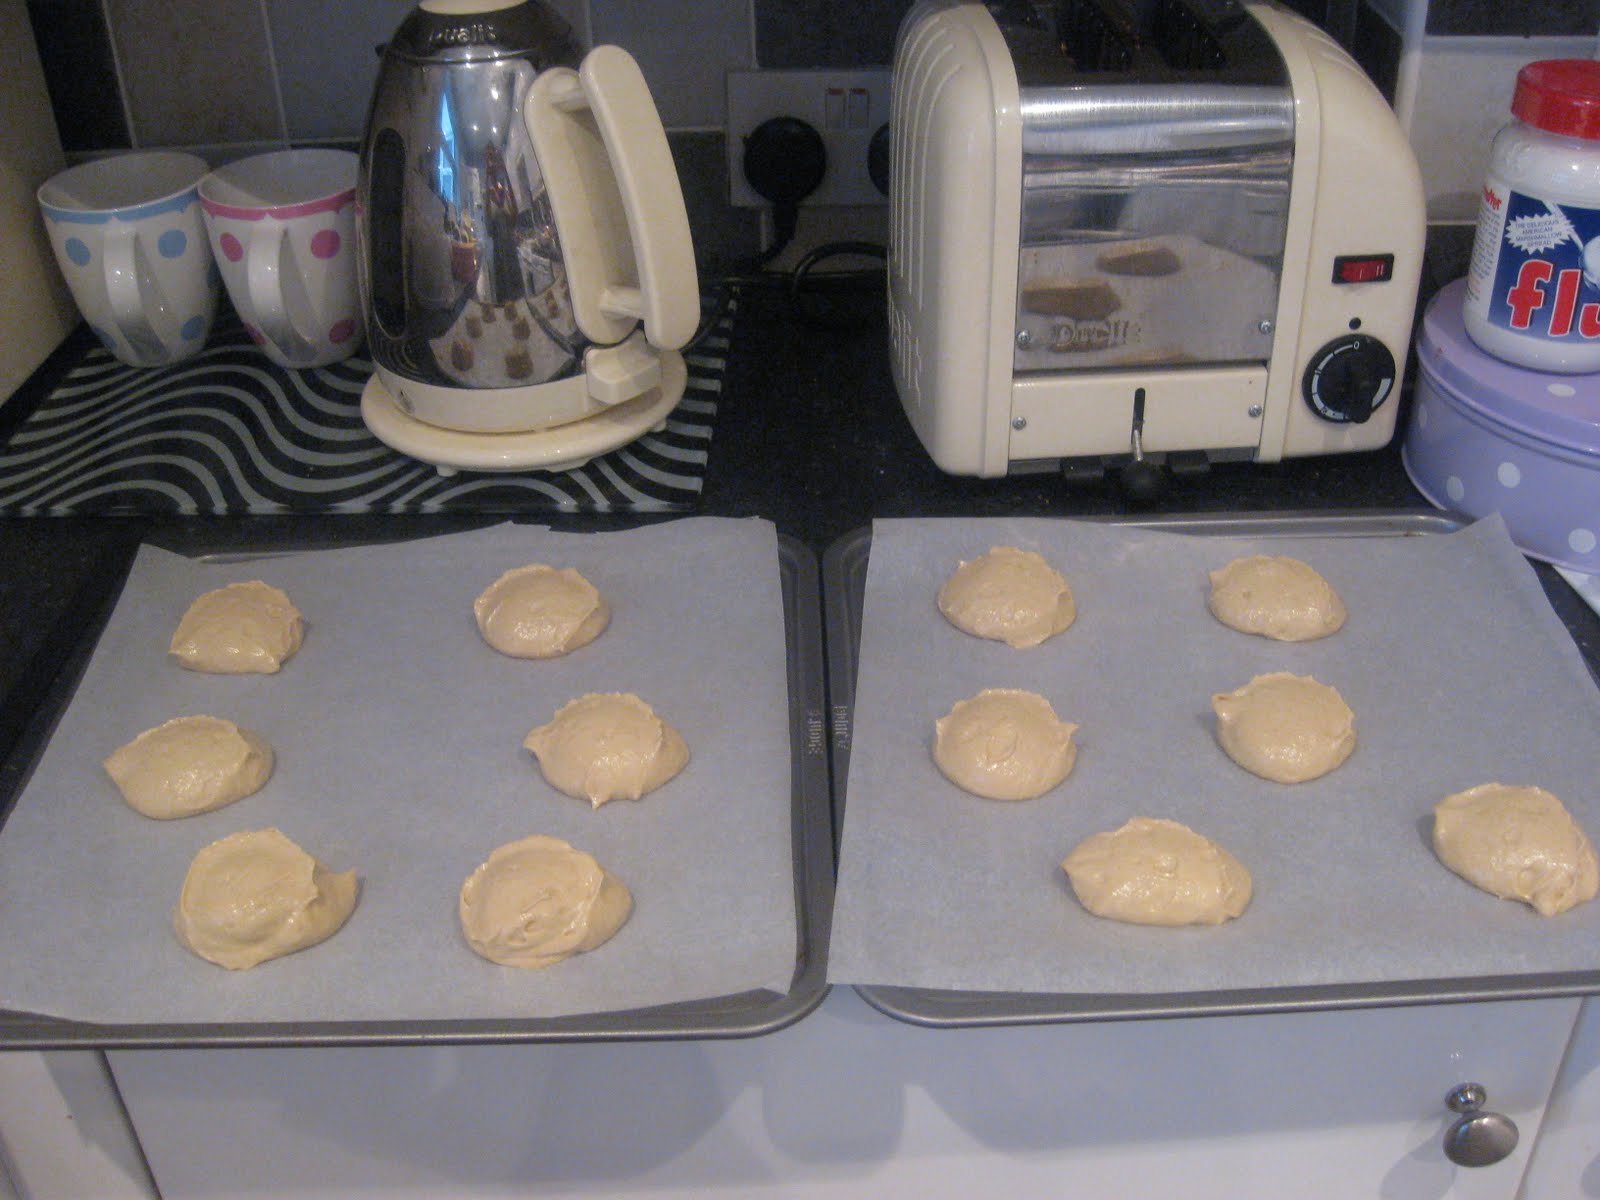
5. Using a spoon or a 2 tablespoon scoop drop about 2 tablespoon's worth of the mixture onto the baking sheets spacing them at least 2 inches apart.
6. Bake for about 18 minutes until cakes begin to brown at the edges and are firm to the touch. Allow cakes to cool for 5 minutes on the baking sheets and then transfer to a wire rack.
Okay, honest opinion, I was not blown away by them. The Whoopie Pies themselves were not sweet enough and with the peanut butter filling especially, tasted a little bit like a peanut butter sandwich. My neighbour Ollie agreed with me (although she did say they were still nice- thanks Ollie!) The ones filled with the marshmallow cream were much nicer. I didn't have enough time to pipe the filling on, and they looked a little bit messy.
Also, the pies themselves seemed a little flat to me. I think the addition of the peanut butter makes the mixture quite dense.
I think next time, it has to be chocolate or vanilla whoopies.
At the time of writing this- I was also amazed to see that M&S are now selling whoopie pies! There are three varieties- chocolate with a vanilla filling, vanilla with a chocolate filling and toffee whoopies with a toffee filling. I tried the chocolate ones and wasn't overly impressed. The ones Beks made were much nicer. Well, at least it means Whoopies have gone mainstream!!

Wednesday 21 July 2010

Happy Birthday Hubby!

As it was Mr G's birthday this week and I decided to make him a homemade cake!

I don't think cupcakes are quite manly enough for him.

His mum always used to make him and his siblings a vanilla cake with chocolate buttercream when they were kids. Actually, she still does. I decided to have go at making one just like Mother used to make. I used the recipe for the vanilla layer cake from The Primrose Bakery cookbook.
Ingredients:-
225 grams unsalted butter (at room temp)
225 grams caster sugar
210 grams self raising flour (sifted)
25 grams corn flour
1 teaspoon baking powder
4 large eggs (at room temp, organic or free range)
1 teaspoon vanilla extract
3 tabelspoons semi-skimmed milk (at room temp)
Method:-
1. Pre-heat oven to 180 degrees centigrade / 350 degrees farenheit / Gas Mark 4.
2. Grease and line 2 x 8inch / 20cm round sandwich tins with greasedproof paper
3. Place the flour, sugar, cornflour and baking powder into a food processor. Mix until just combined.
4. Add the remaining ingredients gradually. Do not overmix or you will take the air out of the cakes.
5. Divide mixture evenly between the two cake tins and cook for 25 minutes or until golden brown.
6. Leave cakes to cool in tins for about 10 minutes and then turn out onto wire racks to cool completely.
Mr G likes robot type things so I had a stab at making a small fondant robot cake topper. I used grey rolled fondant and then painted it with some antique silver lustre to give it a metallic effect.

I also used the Primrose Bakery recipe for chocolate buttercream as it used melted chocolate rather than cocoa powder.

Chocolate Buttercream:-
175 grams good quality dark chocolate (70 % cocoa solids)
225 grams unsalted butter (at room temp)
1 tablespoon semi-skimmed milk
1 teaspoon vanilla extract
250 grams icing sugar (sifted)

Method:-

1. Melt the chocolate and allow to cool.
2. In a large mixing bowl beat the butter, milk, vanilla and icing sugar until smooth.
3. Add the chocolate and continue to beat until fully incorporated.


I then spread a layer of the buttercream over the top of one of the cakes.
And then sandwiched them together!


I then frosted the top of the cake and the sides with the remaining buttercream.
I put a piece of greaseproof paper underneath the cake to stop it getting all over the cake stand.

The cake looked very homemade, and more like something that I used to bring home from my home economics class. But I guess it had the best ingredient of all in it...

....LOTS AND LOTS OF LOVE!!

Sunday 18 July 2010

Party at the in-laws!

I love my in-laws.

In particular, I love the fact that they are all as mad as my own family.

We had a family party this weekend with the in-laws and I made some cupcakes for the occasion.
Being me, I wanted to make sure the sprinkles and frostings complimented each other perfectly.
Judging by the comments made at the party, I think I succeded.

The cakes went down a treat, although there were a couple of casualties throughout the night- mainly as a result of me trying to balance cupcakes after a couple of cocktails.

All in all though, the party was a great success. Although the sight of my in-laws singing along to Queen at 2 in the morning dancing around with the hoover will be forever etched in my mind. Love you guys.

Saturday 17 July 2010

What a Whoopie Week!

This week it feels like there have been Whoopie Pies everywhere!
First the Whoopie Pie cookbooks I ordered from Amazon arrived. I can't wait to try out the recipes! The flavour combinations are so vast!
Then two of my favourite blogs - Bakerella and the Art of being Perfect had cute posts about Whoopie Pies!

AND THEN , Beks turned up at my door armed with a batch of Whoopie Pies that she had made especially for me!

They were absolutely delicious! She had made two sizes - small and large and filled them with either vanilla, chocolate or peanut butter frosting!

Needless to say, the peanut butter ones were my favourites! The 'pies' themselves were deliciously moist and incredibly more-ish.
It has inspired me to try out the recipe for myself as soon as I can!!

More Gluten Free Cupcakes

I needed to make some more gluten free cupcakes. I managed to find a chocolate cupcake recipe but as I was short of time, I decided to stick with the vanilla recipe I had used before.


I again attempted the Magnolia style of frosting, and although there was definitely signs of improvement in my technique, I think it will be some time before I reach Jedi master stage.


I also discovered that Haribo sweets are gluten free so I decided to use them to decorate the cupcakes.

I'm getting there!

Tuesday 13 July 2010

Happy Birthday Kim!

It was my sister in law's birthday this week and since it was a special birthday (I won't say how special!) I decided to make her some cupcakes.

It also gave me the opportunity to try out my new gel colours and the piping nozzles I had ordered from America.

They were all really good. I wanted some bold colours for a change, rather than the pastel colours I normally go for.

The closed star nozzle was my favourite. I still need some practice though. Some of my attempts went a bit haywire!

I also used the gel colours to tint some rolled fondant and made these flower decorations to top the cupcakes with. I was pleased with how they turned out.

Sunday 11 July 2010

Girly Birthday Cookies


I have been a busy baking bee this week! I made these cookies to take to a family birthday celebration. I painted them with edible lustre dust to give a shimmery effect. It worked well on the white and lilac rolled fondant but not so well on the hot pink. Back to the drawing board on that one!

Another one bites the dust!

There have been so many 30th birthdays this year! My cousin's wife turned 30 this week. I remember my 30th. Mr G took me for afternoon tea at the Midland Hotel in Manchester, which is one of Manchester's oldest hotels. It was afternoon tea heaven. But I digress....
I wanted to mark the occasion by making her some cupcakes and cookies.

I had some chocolates that I had bought from Slattery's which I used to top a couple of the cupcakes with. I also make some rolled fondant goodies. I think I have perfected my slices of cake!

Finally, I made some stylish cupcakes using black and hot pink rolled fondant. I like my little handbags. They remind me of of the handbags that Chanel are so famous for.

The Day of Pink!

It was my Goddaughter's birthday and her mum asked me to make some cupcakes for the party. She wanted pink cupcakes - I was in my element!

I called Beks in for reinforcements, and made both chocolate and vanilla cupcakes....


....and a big batch of buttercream frosting which was tinted pastel pink.

I then set loose my collection of sprinkles!!
I couldn't decide which were my favourites!
I topped them with edible pastel pink glitter for extra sparkle too.

I had bought some chocolate hats and handbags from Slattery a local cakeshop that make their own chocolates.

I made a separate box up for my Goddaughter ,all for herself, and made them extra special and extra girly!


I used some pink gingham cupcake boxes I had bought to package the cupcakes and finished it off with a homemade label and some matching ribbon!

Happy Birthday Goddaughter!!

Bake It Pretty Goodies!

I ordered some goodies from bakeitpretty.com recently and got them delivered to my aunt's in New York. She sent them on to me and they finally arrived this weekend!
I had ordered some Americolour gel sets.
I can't wait to try out the colours!
I also ordered some piping nozzles. I can't wait to try the "French" nozzle.

Yes, even more baking cases! I have been coveting these black ones with lime green spots for ages!

I had also ordered some of the designer baking cases.
They are so pretty. Too pretty to use methinks!